Control and Record MeeBlip anode in Bitwig Studio
27 Nov 2015
This post describes how to use the hardware instrument device in Bitwig Studio to control and record a hardware synthesizer, like the MeeBlip anode.
Let's dive right in with a video demonstrating usage of Bitwig's hardware instrument device with the anode.
Here's a quick summary of the gear used.
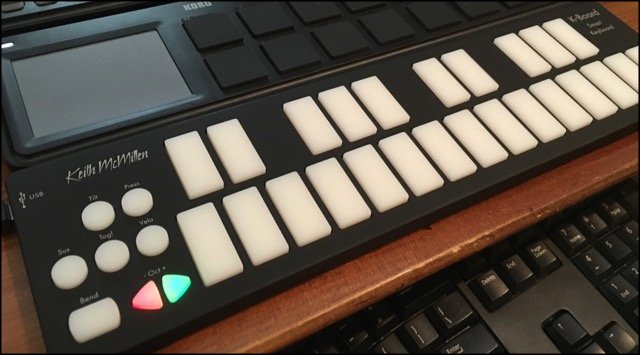
- KMI K-Board
- iConnectMIDI4+ MIDI interface
- MeeBlip anode synth
- iRig Pro audio interface
- Bitwig Studio DAW
And below are more details about the setup.
 A KMI K-Board is connected to an iConnectMIDI4+ MIDI interface via USB.
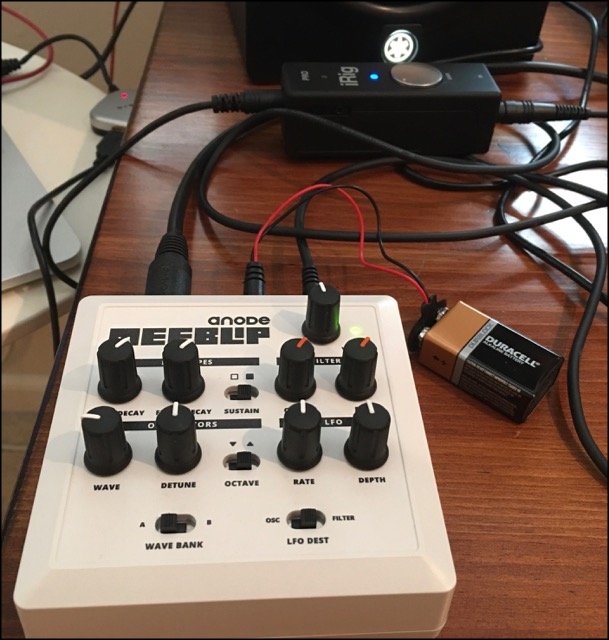
![]() The MIDI DIN 1 output of the iConnectMIDI4+ is connected to the MIDI DIN input of the MeeBlip anode.
The MIDI DIN 1 output of the iConnectMIDI4+ is connected to the MIDI DIN input of the MeeBlip anode.
 MIDI input on the anode comes from the MIDI DIN 1 output of the iConnectMIDI4+ (see previous photo). The audio out of the anode is connected to an iRig Pro audio interface, which you can see sitting behind the anode. Note the use of a 9v battery to power the anode. Very convenient!
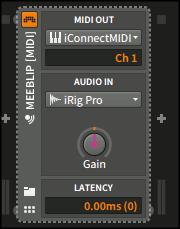
 Bitwig's hardware instrument device
We use the hardware instrument device on an instrument track in Bitwig. For MIDI out, the MIDI DIN 1 port of the iConnectMIDI4+ is selected. Audio input comes from the iRig Pro, which is receiving audio from the anode.
 An instrument (MIDI) and audio track in Bitwig
The top track is an instrument track that uses the hardware instrument device to control the anode. The second track is an audio track which is used to record the audio coming out of the top track.
The audio track gets input from the instrument track that's controlling the anode.
And with that, you should be able to use Bitwig's hardware instrument device to control your outboard synths with MIDI from Bitwig. You can then play your MIDI track, manipulate knobs on your synth if desired, and record the audio onto a new track.
